I don’t know if I’ve ever had Boston Brown Bread before. I mean, I’ve definitely seen the pictures, and I know people talk about making it in tin cans, but I had no idea what to expect. Had I ever even had steamed bread? No clue. But I gave it a shot, and let me tell you—this bread is an A+.
It’s not your typical wheat loaf. There’s no kneading, no endless stretch-and-fold routine, and no stressing over yeast rise times. Instead, you just mix the ingredients, steam it for a while, and boom—you’ve got a dense, slightly sweet, totally addictive loaf. Fresh out of the oven? Unreal. The next day? Still good, but way denser—like, my jaw got a serious workout.
Why Is It Steamed Instead of Baked?
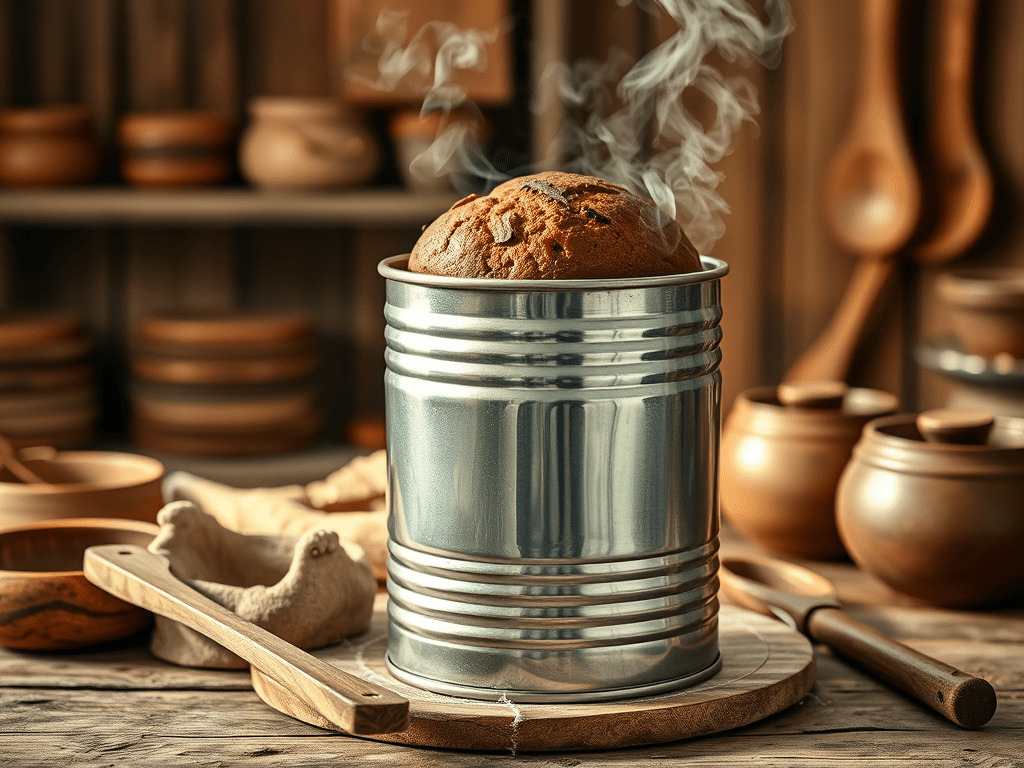
Boston Brown Bread dates back to colonial New England, when wheat flour was expensive and ovens weren’t always available, or reliable. Instead, people mixed together cornmeal, rye flour, whole wheat, and molasses, then steamed the batter over a fire or in a pot of boiling water. The result? A dense, slightly chewy bread with a deep, rich flavor, perfect for serving alongside baked beans (a classic pairing!).
Traditionally, this bread was steamed in cylindrical tins, which is why you’ll see recipes calling for coffee cans or baking molds. It’s a low-effort, high-reward kind of bread, and honestly, I can’t believe I waited this long to try it. If you’ve never had steamed bread before, this is your sign to give it a go—because Boston Brown Bread? Total game-changer.
Yield: One loaf
Ingredients
- 1 cup cornmeal
- 1 cup rye flour
- 1 cup whole wheat flour (referred to as “Graham flour” later in history)
- 1 teaspoon salt
- 1 teaspoon baking soda
- 1 cup buttermilk (or soured milk)
- ½ cup molasses
- ½ cup water (as needed)
Instructions
I am going to provide you with soooooo many options to make this. My personal preference is the pressure cooker style, but you choose what works best for your life.
The OG WAY
- Prepare the Batter:
- In a large wooden or earthenware bowl, mix the cornmeal, rye flour, wheat flour, salt, and baking soda together.
- In a separate bowl, combine the buttermilk and molasses, stirring until smooth.
- Gradually add the wet mixture to the dry ingredients, stirring well with a wooden spoon.
- If the batter is too thick, add water a little at a time until it forms a thick but pourable batter.
- Prepare the Steaming Mold:
- Grease a tin, earthenware mold, or a small wooden bucket with butter or lard to prevent sticking.
- Pour the batter into the mold, leaving about 1 inch of space at the top to allow for rising.
- Cover tightly with a cloth or parchment, securing it with twine to keep moisture out.
- Steam the Bread:
- Place a trivet or small rack in a large kettle or pot and add enough water to reach just below the mold.
- Set the covered bread mold on the trivet and cover the pot with a lid.
- Bring the water to a simmer over the hearth or stove and steam for 3 to 4 hours, checking occasionally to ensure the water doesn’t boil dry (add hot water as needed).
- Finish and Serve:
- Carefully remove the bread mold from the pot and let it sit for 10–15 minutes before unmolding.
- Turn the bread out onto a wooden board and let it cool slightly.
- Serve warm, sliced and spread with butter.
Modern Versions
Traditional Steaming (Authentic Texture)
- Prepare the Batter:
- In a large mixing bowl, whisk together the cornmeal, rye flour, whole wheat flour, salt, and baking soda.
- In a separate bowl, mix the buttermilk, molasses, and water.
- Gradually add the wet ingredients to the dry ingredients, stirring until combined. The batter will be thick but pourable.
- Prepare the Steaming Mold:
- Grease a 1-quart oven-safe metal or ceramic mold (such as a pudding mold, coffee can, or deep loaf pan).
- Pour the batter into the mold, leaving about 1 inch of space at the top.
- Cover the mold tightly with foil or a lid.
- Steam the Bread:
- Place a trivet or small rack or even an upside down heatproof bowl in a large pot and add 1-2 inches of water (the mold should not touch the water).
- Bring the water to a gentle simmer over medium heat.
- Place the covered mold on the trivet, cover the pot with a lid, and steam for 2 ½ to 3 hours, checking occasionally to ensure the water doesn’t evaporate (add more hot water if needed).
- Cool and Serve:
- Remove the mold from the pot and let it sit for 10 minutes before unmolding.
- Slice and serve warm with butter
Option 2: Baking Method (Easier but Slightly Different Texture)
- Preheat oven to 325°F (165°C).
- Follow steps 1 and 2 as in the steaming method.
- Instead of steaming, bake the bread in a greased loaf pan for 50-60 minutes, or until a toothpick inserted in the center comes out clean.
- Let cool for 10-15 minutes before slicing.
Option 3: Pressure Cooker Method (similar texture to original but faster)
- Follow steps 1 and 2 as in the steaming method.
- Add 2-3 cups of water to pressure cooker. Place a trivet, steaming rack, or an upside down heatproof bowl turned upside down inside.
- Set the covered bread mold on top of the trivet.
- Close the pressure cooker lid and set the valve to sealing.
- For an Instant Pot or electric pressure cooker:
- Select Manual/Pressure Cook mode and set to high pressure for 50 minutes.
- Allow a 15-minute natural release, then release any remaining pressure.
- For a stovetop pressure cooker:
- Cook over medium heat for 45-50 minutes at high pressure.
- Let the pressure release naturally for 15 minutes before opening.
- For an Instant Pot or electric pressure cooker:
- Carefully remove the mold from the pressure cooker and let it sit for 10 minutes.
- Turn the bread out onto a cooling rack or plate.
- Slice and serve warm with butter
Notes & Tips
If you do not want to buy buttermilk you can curdle your milk slightly, by doing 1 cup milk + 1 tablespoon vinegar or lemon juice, and letting it sit for at least 5 minutes.
Can you use all-purpose flour instead of whole wheat flour in Boston Brown Bread? Yes, but it will slightly change the texture and flavor. Here’s what to expect:
How It Affects the Bread:
- Lighter Texture – Whole wheat flour contains more bran and fiber, which makes the bread denser. Using all-purpose flour will result in a softer, lighter loaf.
- Milder Flavor – Whole wheat flour has a nutty, slightly earthy taste, while all-purpose flour is milder and slightly sweeter. The molasses will still provide richness, but the bread may taste less hearty.
- Absorption Difference – Whole wheat flour absorbs more liquid than all-purpose flour. If substituting 1:1, the batter might be slightly wetter.
Adjustments to Make:
- Reduce the liquid slightly – If the batter seems too thin, reduce the amount of milk by 1-2 tablespoons.
- Consider adding a bit more cornmeal or rye flour to maintain some of the texture that whole wheat flour would have provided.

Leave a comment