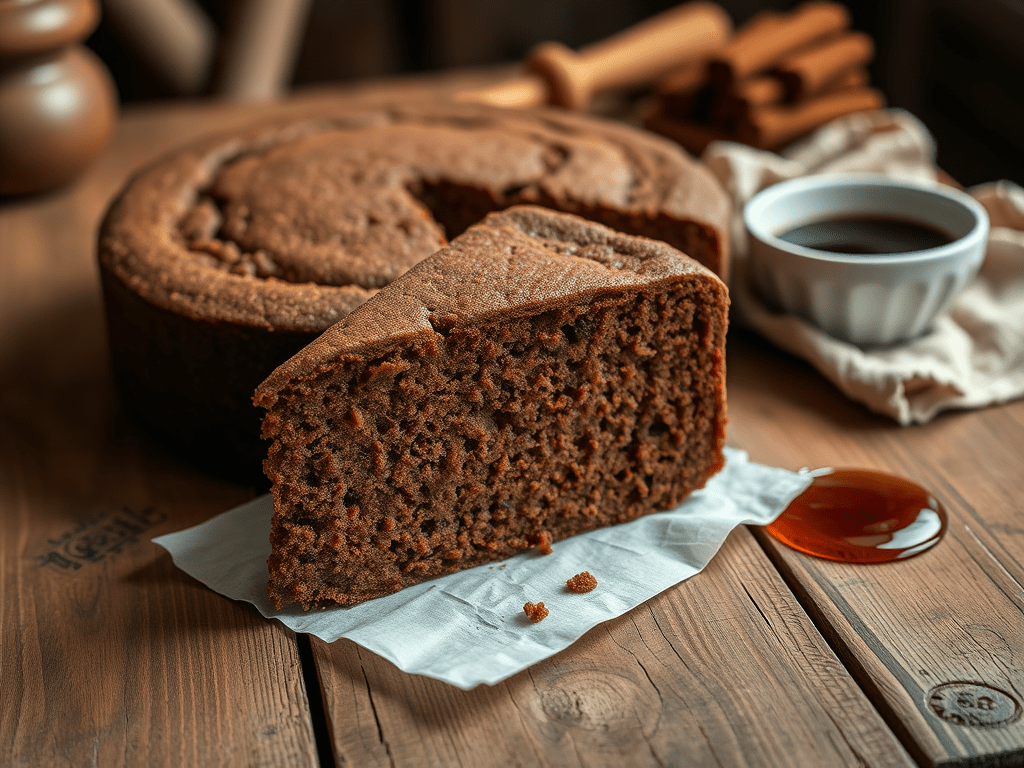
Step back in time and taste history with this authentic 18th-century gingerbread cake! Unlike the fluffy, overly sweet cakes we know today, colonial-era gingerbread was rich, dense, and packed with bold flavors—perfect for cozy hearth-side gatherings. Sweetened primarily with molasses, it was a dessert made for the times, using whatever spices were on hand, which often meant a blend of ginger, cinnamon, and sometimes even cloves. Baked in a hearth or Dutch oven, this gingerbread was less about sugar rush and more about hearty, comforting flavors that warmed you from the inside out. Ready to take a bite out of history? Let’s dive in and explore this delicious colonial treat!
Ingredients:
- 2 cups flour (wheat or rye, sifted)
- 1/2 cup molasses
- 1/4 cup honey
- 1/4 cup butter or lard (softened)
- 1/2 cup warm water or milk
- 1/2 teaspoon salt
- 1 teaspoon ground ginger
- 1/2 teaspoon cinnamon (optional)
- 1/4 teaspoon nutmeg (optional)
- 1/4 teaspoon ground cloves (optional)
- 1/2 teaspoon baking soda (or 1 teaspoon pearl ash)
Instructions:
- Mix wet ingredients: Stir together molasses, honey, butter, and warm water (or milk) in a bowl.
- Add dry ingredients: Slowly mix in flour, salt, baking soda, and spices until fully combined.
- Leavening: If using pearl ash, mix in a tablespoon of warm water and mix in.
- Baking methods:
- Hearth baking: Bake in a Dutch oven over hot coals for 30–40 minutes, with embers on top of the lid.
- Modern oven: Bake in a greased 8×8-inch pan at 350°F (175°C) for 30–35 minutes.
- Cooling & serving: Let cool before slicing. Serve plain or with honey, butter, or fresh cream.
Notes
Does Warm Water/Milk ACTUALLY matter?
Welllllll… yes and no, here’s a break down.
- Helps Dissolve and Distribute Ingredients
- Ingredients like molasses and honey are thick and sticky. Warm liquid softens and thins the molasses and honey, making it easier to mix evenly into the batter.
- Improves Texture
- Warm liquid slightly hydrates the flour more quickly, creating a smoother batter. This helps develop a softer crumb in the finished gingerbread rather than a tough or dense texture.
- Activates Leavening Agents
- In modern versions, baking soda reacts better in warm liquid, helping the gingerbread rise.
- If using pearl ash (historical leavening agent), it must be dissolved in warm water first to work properly.
So while using warm liquid isn’t strictly necessary, it does make the batter easier to work with and results in a better final texture.
How to Make Pearl Ash (18th-Century Baking Powder)
Before baking soda existed, people in colonial America used pearl ash to help baked goods rise. Pearl ash is a type of potassium carbonate, made by extracting minerals from wood ashes. It reacts with acids like molasses or sour milk to create air bubbles, making cakes and breads lighter.
SAFETY FIRST
I’m going to assume you’re a semi-responsible adult. If you’re under 18, grab an adult so you’re not just out here doing science experiments all willy-nilly. If you’re over 18 and still not responsible (you know who you are), maybe call in a responsible friend to assist. This isn’t rocket science, and you’re not going to die if you mess up, but let’s use some common sense and stay safe, okay?
1. Handle Wood Ash with Care
- Avoid inhaling ash dust—it can cause respiratory irritation. Work in a well-ventilated area or outdoors.
2. Be Cautious with Potash Lye (Alkaline Water)
- The liquid extracted from ashes (potash lye) is a strong alkaline solution and can irritate skin and eyes. If it splashes on your skin, rinse immediately with plenty of water. If you are accident prone or would like to be cautious feel free to wear eye protection to prevent accidental contact.
3. Use a Heat-Safe Container
- When boiling down the potash lye, use a heat-safe, non-reactive pot (cast iron, stainless steel, or ceramic).
- Do NOT use aluminum cookware, as alkaline solutions can corrode aluminum.
4. Store Pearl Ash Properly
- Once dried, store pearl ash in an airtight container to prevent it from absorbing moisture. Label it clearly to avoid accidental ingestion—while it’s safe for baking, it should never be mistaken for regular salt or sugar.
Here’s how early American bakers made pearl ash at home:
What You Need:
- Hardwood ashes (from oak, maple, or other non-resinous trees)
- Water
- Large pot
- Fire or stove
- Fine mesh strainer or cheesecloth
- Shallow pan (for drying)
Instructions:
- Gather the ashes
- After burning hardwood, let the ashes cool completely. Do not use softwoods like pine, which have too much resin.
- Make lye water
- Put the ashes in a large pot and add warm water.
- Stir well and let the mixture sit for 12 to 24 hours.
- This pulls potash (alkaline minerals) from the ashes into the water.
- Strain the liquid
- Pour the mixture through a cheesecloth or fine strainer into a new pot.
- The dark liquid that comes through is called potash lye.
- Boil the liquid
- Heat the potash lye over a fire or stove.
- Boil until most of the water evaporates, leaving behind a white or grayish powder—this is pearl ash.
- Dry and store
- Spread the powder in a shallow pan and let it dry completely.
- Store in a sealed container to keep it fresh.
How It Was Used
- Pearl ash was the first chemical leavening agent used in America.
- When mixed with molasses or sour milk, it created tiny bubbles, making gingerbread, biscuits, and cakes lighter.
- It had a slightly bitter taste, so bakers used spices like ginger and cinnamon to cover it up.
When did people stop using it?
By the early 1800s, baking soda (sodium bicarbonate) was invented. It worked better and didn’t have a bitter taste, so people stopped using pearl ash.

Leave a comment