
Ah, sunshine salad, a dish that’s as bright and quirky as its name. If you’ve never had the pleasure, picture this: a shimmering mold of lemon Jell-O packed with grated carrots, crushed pineapple, and just the right amount of retro charm. It’s sweet, tangy, and a little bit confusing… but in the best possible way.
I always knew Jell-O salads were a huge thing back in the day, but honestly? I struggled to figure out if this should count as dessert or a side. I mean—it’s Jell-O! Feels pretty dessert-y, right? But after chatting with a few folks who were actually there in the 1960s, I found out: nope. Jell-O salad was 100% considered a side dish, not a dessert. Because hey, why not live that full sugar-high life and serve gelatin alongside your burgers and potato salad?
Back in the 1960s, no potluck or holiday table was complete without some kind of Jell-O creation, preferably in a fancy mold. Sunshine salad stood out thanks to its bright citrusy flavor and eye-catching color—it brought a literal pop of sunshine to any spread.
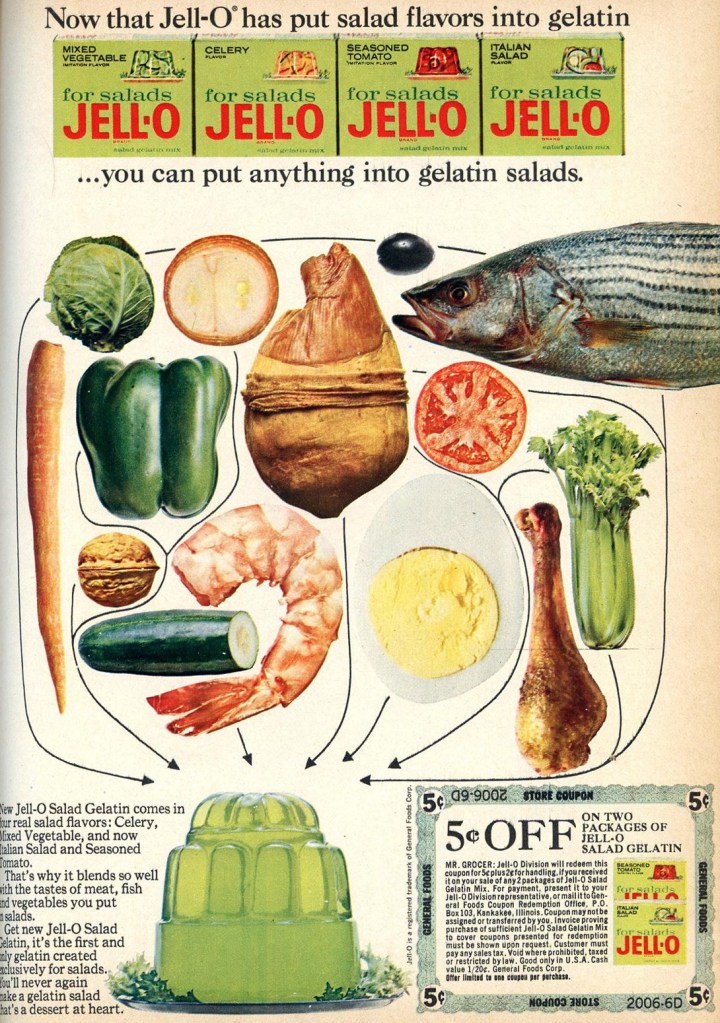
Jell-O itself had been around since the late 1800s, but it became a true icon in the mid-20th century when convenience foods reigned supreme. Now some of the molded jello salads of mid-20th century were absolute insanity. One Google search and one will stumble onto the most stomach lurching images of these atrocities.
Ready to bring a little vintage glow (and a lot of nostalgia) to your table? Let’s get wiggly.
Ingredients:
- 1 (6 oz) package lemon Jell-O
- 2 cups boiling water
- 1 cup cold water
- 1 cup crushed canned pineapple (drained, but reserve the juice) *important note below!
- 1 cup grated carrots
- 1 tablespoon lemon juice (optional, for extra tang)
- ½ cup reserved pineapple juice (use as part of the cold liquid)
- Lettuce leaves (optional, for serving)
Instructions:
- Dissolve the Jell-O:
In a large bowl, dissolve the lemon Jell-O in 2 cups of boiling water. Stir for 2–3 minutes until completely dissolved. - Add liquids:
Add ½ cup of the reserved pineapple juice and ½ cup of cold water to make 1 cup total cold liquid (for a little extra zing, stir in a tablespoon of lemon juice if you’d like). Mix well. - Cool slightly:
Let the Jell-O mixture cool in fridge about 15–30 minutes. You want it to be slightly thickened but not fully set (this helps keep the carrots and pineapple suspended). - Mix in the goodies:
Stir in the drained crushed pineapple and grated carrots until well combined. - Mold it:
Pour the mixture into your Jell-O mold. Smooth the top and give the mold a gentle shake to release any trapped air bubbles. - Chill:
Refrigerate for at least 4 hours, or until fully set. - Unmold & serve:
To unmold, dip the outside of the mold briefly into warm water (10–15 seconds), run a knife around the edge if needed, and invert onto a serving plate lined with lettuce leaves for that authentic 1960s look.- If like me you put it in too warm of water and it became unset, just throw it in the freezer for 45ish minutes and you’ll be set.
Tips for Success:
- Grating carrots: Use the fine side of a box grater for the best texture, large shreds can sink or look chunky.
- Firm set: Let the Jell-O set overnight if possible for the firmest, easiest unmolding.
- Mold size: This works well in a 5–6 cup mold, but you can also use a Bundt pan or individual molds if you’re feeling fancy!
Tropical Fruit Warning!
If you are wanting to go fresh fruit instead of canned, do not include quite a few tropical fruits. Pineapple (kiwi, papaya, mango, and figs) will prevent Jell-O from setting. This has to do with enzymes in fresh pineapple, specifically, an enzyme called bromelain.
Here’s why it matters:
- Bromelain breaks down proteins, and since gelatin is a protein (derived from collagen), bromelain interferes with the setting process by breaking the gelatin’s structure apart before it can firm up.
- This enzyme is present in fresh or raw pineapple.
- Canned pineapple, however, has been heated during the canning process, which deactivates bromelain, making it safe to use in Jell-O or other gelatin-based recipes.

Leave a reply to Time Traveling Table Cancel reply